Installing and running the Waves Enterprise platform
Currently we support Unix-like systems (for example, popular Linux distributives and MacOS). However Waves Enterprise platform can be run under the Windows natively in experimental mode. Also you can you Unix virtual machines or the Docker environment for the installation and running the platform under the Windows.
Waves Enterprise platform allows to use the GOST cryptography based on the CryptoPro Java CSP software as well as the embedded Waves cryptography module. If you want to use the GOST cryptography, please, contact Waves Enterprise support for more information.
Important
Waves Enterprise nodes installation must be performed on a separate machine from the Waves blockchain platform nodes.
Platform installation types
The Waves Enterprise platform can be configured in manual and automatic modes. The process of deploying and launching a node for Linux and MacOS systems is the same. The additional services set needs the apps Docker CE and Docker-compose for the fully running.
When you need to connect a single node to the Mainnet or Partnernet, please, do the manual node configuration before the node run. In other cases it is easier to install and configure the platform automatically. After local deploying the platform you can always refer to the configuration files of the nodes included into the blockchain for further configuration of the Waves Enterprise platform.
Automatic platform deploying
Download and install the Docker CE and Docker-compose installation packages. Registration on the site is need for downloading.
After installation check if applications Docker CE and Docker-compose (the part of the Docker CE installation package) have been successfully installed: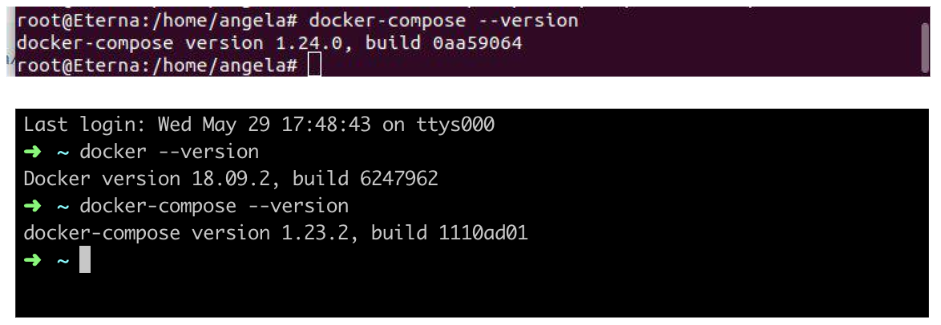 You can use the commands
docker --versionanddocker-compose --versionfor macOS and Linux OS.Download the newest install file
install.shusing the Waves Enterprise official GitHub page.
Open the terminal, create a working directory and navigate to it.
Run the following command:
sh install.sh
Please, wait for the result of the command execution. The platform will start automatically after the installation file is completed.
Attention
This command is executing with root rights on Linux.
Run the following command to launch the platform:
docker-compose up -d
Attention
When a node is run, the available resources are checked. If the available resources are less than the minimum, the node will not be able to start. See System requirements for checking of minimum and recommended hardware specifications. If you run all three nodes on the same machine, you should allocate at least 10 GB of RAM and 6 processor cores for Docker.
Stop the node using the command:
docker-compose down
Sending transactions from the web client
Follow these steps after the blockchain platform full start:
Open a browser and enter the
http://localhost address.Register in the web client using any valid email address and log in to the web client.
Open the
Choose address -> Add addressmanually page.Fill in the fields below. You can take the values from the
accounts.confconfiguration file of the first node in thenodes/node-1directory.Node network address - specify the
http://localhost/nodeAddress value.Address - specify the node address. See the
Addressfield marked in the picture below.Key pair password - specify the key pair password of the node. See the
Key-pair passwordfield marked in the picture below.

You can also simply create a new custom blockchain address using the
Choose address -> Add address manuallypage and following the prompts of the web interface.
It is now possible to send transactions from the web client from the node address.
Deploying a single note in manual mode
Download and install the Docker CE and Docker-compose installation packages.
Download the latest release of the node and the config file template from the GitHub. The following files are included into the release:
generators-x.x.x.jar utility which is used for the accounts creating and the genesis block signature;
configuration file
docker-compose-one-node.ymlfor the node run.
Perform the node configuration using the Manual node configuration guide. Manual configuration is also necessary if you want to further configure the node, for example, enable or disable options, change the parameters of consensus or mining, etc.
Create a working directory,
nodefor example, then place the following files into it:configuration file
docker-compose-one-node.ymlfor the node run;node configuration file
node.conf;keystore.datfile which was created during the account generation and the key pair.
Run the terminal with administrator’s privileges in the working directory and perform the following command:
docker-compose -f docker-compose-one-node.yml up -d
Attention
When a node is run, the available resources are checked. If the available resources are less than the minimum, the node will not be able to start. See System requirements for checking of minimum and recommended hardware specifications.
Stop the node using the command:
docker-compose -f docker-compose-one-node.yml down